

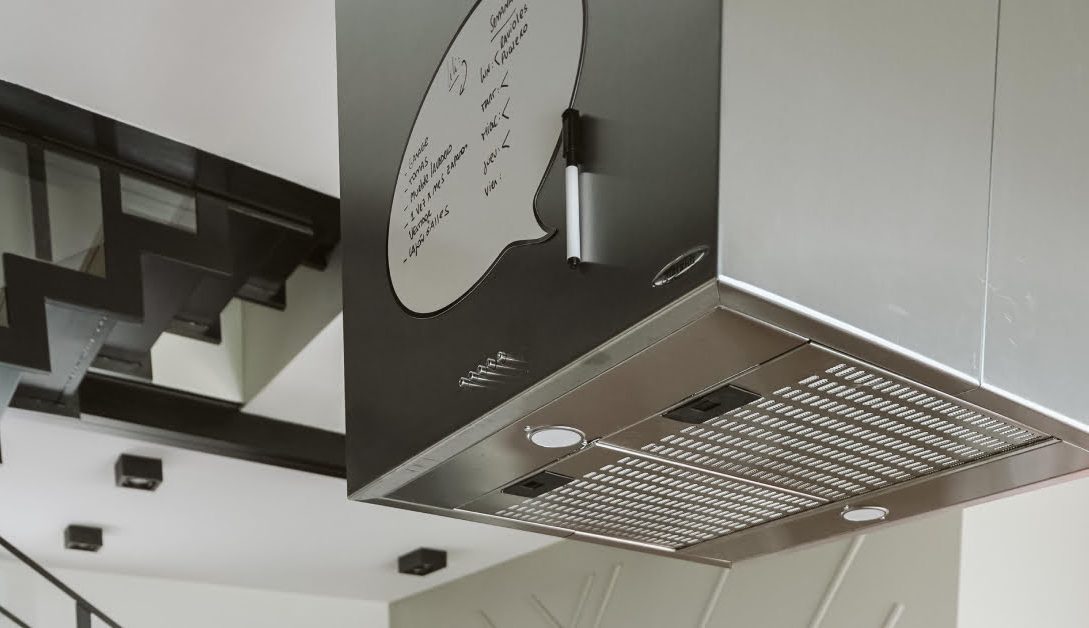
To install a whirlpool 30 range hood, follow these steps:
1. Attach the hood to the wall using screws, ensuring it is securely mounted.
2. Connect the electrical wires, matching the colors and securing them tightly. Introducing a whirlpool 30 range hood into your kitchen not only enhances the overall aesthetics but also keeps it smoke and odor-free. Installing the range hood is a simple process that can be done by following a few steps.
In this guide, we will walk you through the process of installing the whirlpool 30 range hood, ensuring a secure and efficient setup. By the end, you will have a fully functional range hood that effectively removes unwanted smoke and odor from your cooking area. Follow these steps to complete the installation and enjoy a cleaner and healthier kitchen environment.
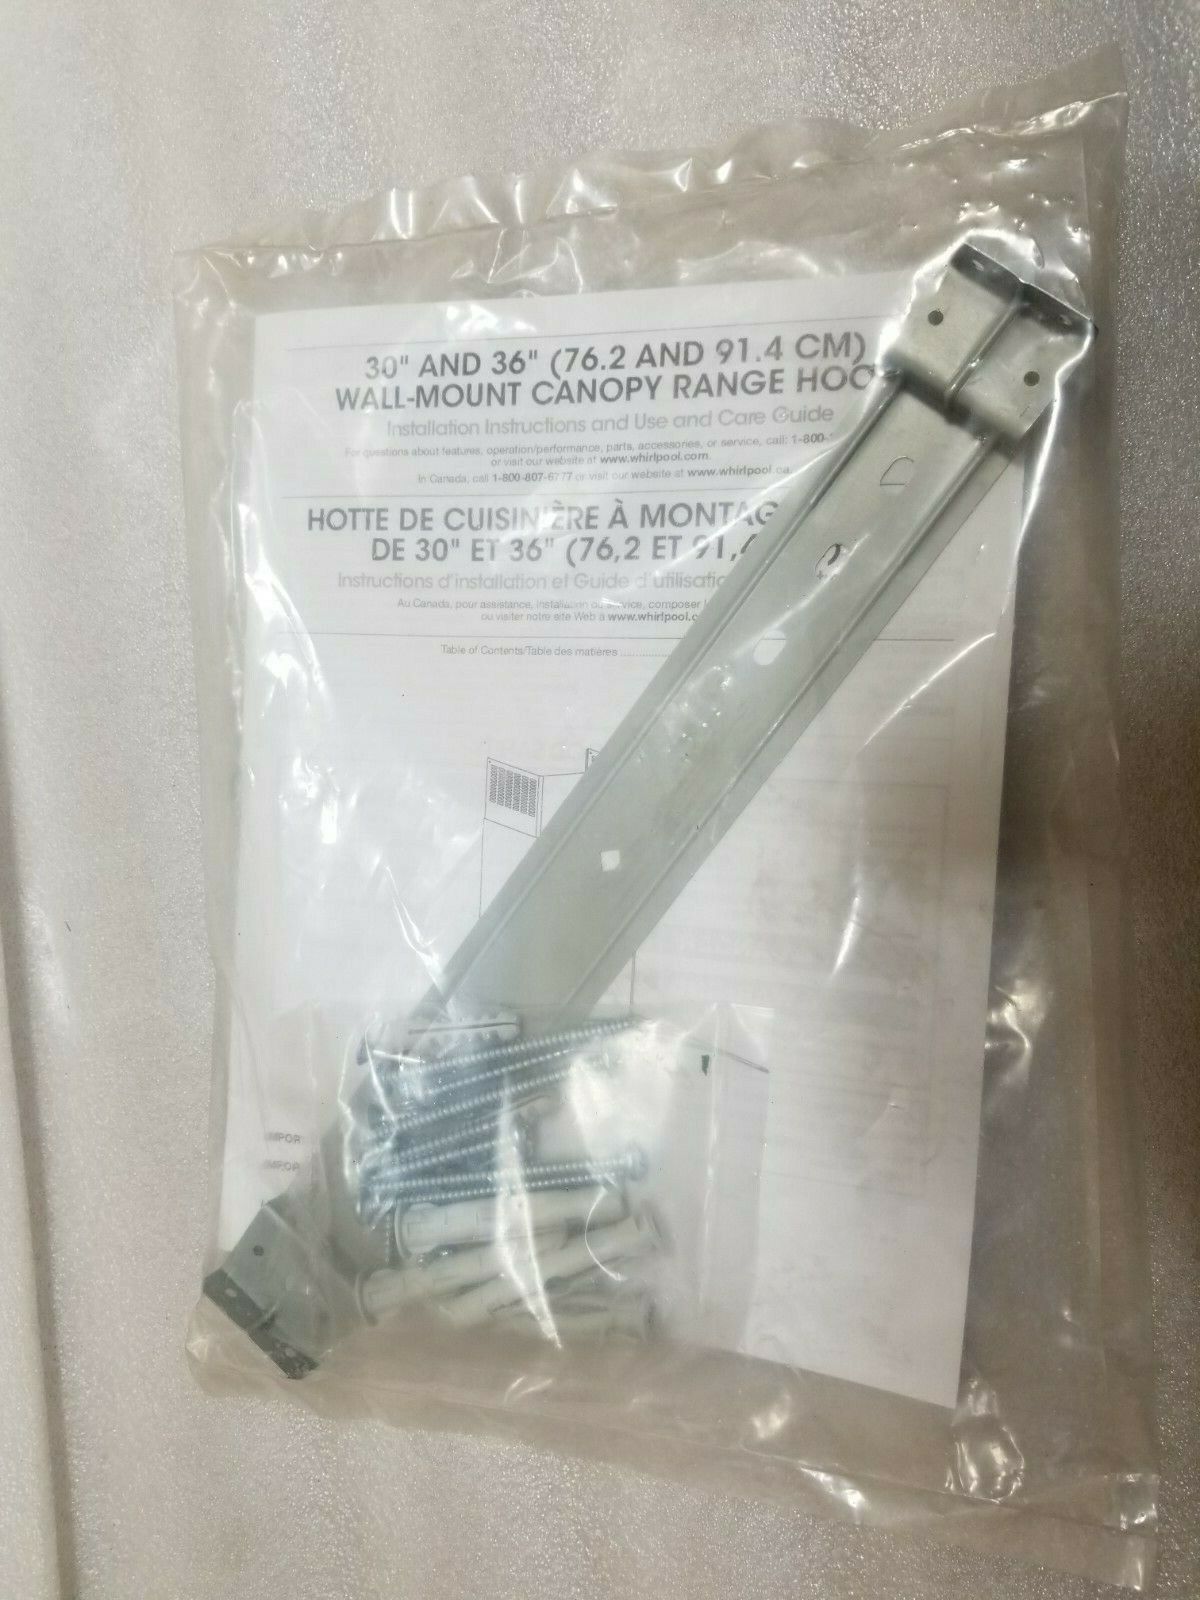
Credit: www.ebay.com
Preparing For Installation
Before you begin installing your whirlpool 30 range hood, it is important to make sure you are properly prepared. This will help ensure a smooth installation process and minimize any potential issues or setbacks. Here are the key points to consider:
- Check the package contents: Before diving into the installation process, take a few moments to inspect the contents of the package. Ensure that you have received all the necessary parts and components required for installation. This will help you avoid any delays or frustration later on.
- Gather the necessary tools: To successfully install your range hood, you will need a few essential tools. Make sure to have a screwdriver (both flathead and phillips), a power drill, a level, and a pencil. These tools will come in handy during the installation process and help you achieve a professional-looking result.
- Turn off the power: Safety should always be a top priority when working with electrical appliances. Before you start installing your range hood, make sure to turn off the power to the area where you will be working. This includes shutting off the circuit breaker that supplies electricity to the range hood. Double-check to ensure that the power is completely turned off before proceeding.
By following these steps and taking the time to properly prepare for installation, you will set yourself up for success. Once you have checked the package contents, gathered the necessary tools, and turned off the power, you will be ready to move on to the next steps of installing your whirlpool 30 range hood.
Assembling The Range Hood
When it comes to installing a whirlpool 30 range hood, the first step is to assemble the various components and ensure a proper fit. This section will guide you through the process, with clear instructions and tips to help you along the way.
Identify The Different Components
Before you can start assembling the range hood, it’s important to familiarize yourself with the different components that come with it. Here are the key parts you’ll be working with:
- Range hood body: This is the main part of the range hood, which houses the fan and the controls.
- Filters: The range hood usually comes with one or more filters, which help to trap grease and odors.
- Mounting bracket: The mounting bracket is used to secure the range hood to the wall or under the cabinet.
- Exhaust duct: This is the duct that connects the range hood to the outside, allowing for proper ventilation.
Attach The Mounting Bracket
Once you have identified all the components, the next step is to attach the mounting bracket to the range hood. Follow these steps:
- Position the mounting bracket on the back of the range hood, aligning it with the pre-drilled holes.
- Use the provided screws to secure the mounting bracket firmly in place.
- Ensure that the bracket is level and properly aligned to ensure a sturdy installation.
Install The Exhaust Duct
After attaching the mounting bracket, it’s time to install the exhaust duct. This is an essential step to ensure that the range hood vents properly to the outside. Follow these steps:
- Measure and mark the desired location for the exhaust duct on your wall or cabinet.
- Use a suitable saw or drill to create a hole for the duct.
- Insert one end of the exhaust duct into the hole, making sure it fits snugly.
- Secure the duct in place using tape or clamps to prevent any leaks.
- Connect the other end of the duct to the range hood, ensuring a tight seal.
- Double-check all connections to ensure they are secure and properly aligned.
By following these steps, you can assemble your whirlpool 30 range hood with ease, ensuring a sturdy installation and efficient ventilation. Remember to refer to the manufacturer’s instructions for any specific details or considerations. Happy cooking!
Installing And Securing The Range Hood
When it comes to installing a whirlpool 30 range hood, proper installation and secure fastening are essential for optimal performance and safety. In this section, we will guide you through the process step by step to ensure a successful installation.
Let’s get started!
Determine The Optimal Location:
Before beginning the installation, it is crucial to select the best spot for your range hood. Consider the following factors:
- The range hood should be mounted at least 24 inches above the cooktop to effectively capture smoke, steam, and odors.
- Ensure there is enough space between the range hood and any cabinets or other appliances to allow proper airflow.
- Locate a nearby electrical outlet for easy connection.
Mark The Mounting Holes:
To securely attach the range hood to the wall, you need to mark the mounting holes accurately. Here’s how:
- Position the range hood against the wall at the desired height.
- Use a pencil to mark the spots where the mounting holes align.
- Double-check the measurements to ensure accuracy.
Attach The Range Hood To The Wall:
Now that you have marked the mounting holes, it’s time to attach the range hood to the wall. Follow these steps:
- Use a drill to create pilot holes at the marked spots.
- Align the mounting bracket with the pilot holes and secure it to the wall using screws.
- Lift the range hood and hook it onto the mounting bracket, making sure it fits securely.
Secure The Range Hood:
To ensure the range hood stays in place, proper securing is crucial. Here’s what you need to do:
- Carefully adjust the range hood to ensure it is level and aligned with your stove.
- Use screws to fasten the range hood to the mounting bracket securely. Make sure it is tightly fixed, but be cautious not to overtighten and damage the hood or wall.
Connect The Electrical Wiring:
With the range hood properly secured, it’s time to connect the electrical wiring. Follow these steps:
- Turn off the power supply to the designated circuit.
- Strip the electrical wires, matching the color-coded ones (black to black, white to white, and green to green or bare copper).
- Connect the wires using wire nuts and secure them tightly.
- Once the wiring is properly connected, restore the power supply and test the range hood.
Remember, proper installation and securing of your whirlpool 30 range hood is essential for its efficient operation and your safety. By following these steps, you can enjoy a well-functioning and reliable range hood that effectively removes cooking fumes from your kitchen.
Finalizing The Installation
Congratulations on successfully installing your new whirlpool 30 range hood! To ensure that it is working properly and ready for use, there are a few final steps you need to take. In this section, we will cover how to test the range hood, adjust the controls and settings, and clean and maintain it for long-lasting performance.
Test The Range Hood
Before you start using your range hood, it’s essential to test it to make sure everything is functioning correctly. Here’s what you need to do:
- Turn on the range hood and check if the fan is running smoothly.
- Verify that the lights are working as intended.
- Check for any unusual noises or vibrations.
- Make sure the airflow is strong and effectively removing steam and odors from the cooking area.
Adjust The Controls And Settings
To personalize your range hood experience, you can adjust the controls and settings according to your cooking preferences. Here are a few key points to consider:
- Familiarize yourself with the different fan speed options and choose the one that suits your needs. Higher speeds are suitable for heavier cooking, while lower speeds are more energy-efficient for lighter tasks.
- Experiment with the various lighting settings to find the level of brightness that best illuminates your cooking area.
- If your range hood has additional features such as timers or automatic shut-off, take the time to understand how they work and set them accordingly.
Clean And Maintain The Range Hood
Proper maintenance is crucial for the longevity and efficiency of your range hood. Regular cleaning will prevent the buildup of grease and keep it operating optimally. Follow these guidelines:
- Refer to the manufacturer’s instructions on cleaning methods and recommended cleaning products.
- Wipe down the exterior surface of the range hood using a soft cloth or sponge and mild detergent.
- Clean the grease filters regularly, either by handwashing or in the dishwasher if they are dishwasher-safe.
- Pay attention to the vent ducts and ensure they are free from obstruction or blockage.
- Consider scheduling professional maintenance at least once a year to ensure thorough cleaning and inspect any internal components.
By completing these final steps, you can guarantee that your whirlpool 30 range hood is ready to provide effective ventilation and lighting in your kitchen. Enjoy the benefits of a well-installed and well-maintained range hood as you cook up delicious meals for your family and friends.
Troubleshooting Tips
Addressing Common Installation Issues
When it comes to installing a whirlpool 30 range hood, you may encounter a few common issues that can cause frustration. But worry not, as these troubleshooting tips will help you navigate through the installation process smoothly. Here are some key points to keep in mind:
- Ensure proper alignment: One common issue is difficulty in aligning the range hood with the mounting brackets. To address this, double-check the positioning of the mounting holes and make sure they align perfectly with the brackets.
- Securely fasten screws: Loose screws can cause the range hood to hang unevenly or fall off altogether. Make sure to tighten all screws securely, especially those that connect the range hood to the wall or cabinet.
- Proper electrical connections: Another issue that may arise is related to electrical connections. Ensure that all wires are properly connected according to the manufacturer’s instructions. Double-check wiring diagrams if needed.
- Proper ductwork installation: Improper ductwork installation can lead to issues with proper ventilation. Ensure that the ductwork is securely connected, without any leaks or gaps. Use foil duct tape or metal clamps to seal any air leaks.
Ensuring Proper Ventilation
Proper ventilation is essential for any range hood to function effectively. Here are a few key points to consider:
- Check for obstructions: Before installing the range hood, check for any obstructions in the ventilation path, such as cabinets or walls. Clearing any blockages will ensure proper airflow and efficient ventilation.
- Use the correct duct size: Choosing the right duct size is crucial for proper ventilation. Refer to the manufacturer’s instructions to determine the appropriate duct size for your specific range hood model.
- Follow recommended duct lengths: Adhering to the recommended duct lengths will ensure proper airflow and ventilation efficiency. Avoid excessively long duct runs, as this can lead to reduced performance.
Seeking Professional Assistance If Needed
While some installations can be done by homeowners, complex installations or situations that require specialized knowledge may call for professional assistance. Here are some instances where seeking professional help is recommended:
- Electrical work: If you’re uncomfortable with electrical connections or wiring, it’s best to hire a licensed electrician to handle the electrical aspects of the installation.
- Complex ductwork modifications: If the installation requires extensive modifications to the existing ductwork, it’s advisable to seek assistance from an experienced hvac technician or a professional installer.
- Safety concerns: If you encounter any safety concerns during the installation process, such as structural integrity issues or unusual circumstances, it’s wise to consult with a professional to ensure everything is done correctly and safely.
Remember, when it comes to installing your whirlpool 30 range hood, addressing common installation issues, ensuring proper ventilation, and seeking professional assistance when needed will help you complete the installation successfully.
Frequently Asked Questions For How To Install Whirlpool 30 Range Hood
How Do I Install A Whirlpool 30 Range Hood?
To install a whirlpool 30 range hood, start by carefully following the manufacturer’s instructions provided in the manual. Determine the appropriate location, secure the mounting bracket, attach the ductwork, and make the necessary electrical connections. Finally, test the unit to ensure it is functioning properly.
What Tools Do I Need To Install A Whirlpool 30 Range Hood?
To install a whirlpool 30 range hood, you will need several common tools such as a screwdriver, a level, wire strippers, pliers, and a drill. It is important to check the installation instructions provided by whirlpool to ensure you have all the necessary tools and equipment.
Can I Install A Whirlpool 30 Range Hood By Myself Or Do I Need Professional Help?
While it is possible to install a whirlpool 30 range hood by yourself, it is advisable to have some basic electrical and carpentry skills. If you are unfamiliar or uncomfortable with these tasks, it is best to hire a professional to ensure the installation is done safely and correctly.
Conclusion
If you’re eager to enhance the functionality and aesthetics of your kitchen, installing a whirlpool 30 range hood is a smart choice. This handy appliance not only effectively removes smoke, steam, and odor from your kitchen, but it also adds a sleek and modern touch to your cooking space.
By following the step-by-step instructions outlined in this guide, you’ll be able to install your whirlpool 30 range hood with ease. Remember to prepare all the necessary tools and materials beforehand to ensure a smooth installation process. With its powerful ventilation system and user-friendly features, the whirlpool 30 range hood will undoubtedly make your cooking experience more enjoyable and efficient.
Say goodbye to lingering odors and hello to a cleaner, fresher kitchen. Upgrade your cooking space today and enjoy the benefits of a whirlpool 30 range hood.

Freda is a passionate foodie and kitchen gadget enthusiast. With over 10 years of experience in the culinary industry, Freda brings her expertise in testing and reviewing kitchen gadgets.